

Outlook automatic forwarding – How to reliably direct emails to the right place
December 16, 2025

Outlook automatic forwarding: The essentials in brief
- The automatic forwarding in Outlook varies depending on the version and only works reliably when it is set up correctly.
- Redirects can be specifically filtered, for example by sender or subject, to easily reroute relevant emails.
- Redirects can also be set up via the Microsoft 365 Admin Center, but require clear regulations and a data protection review.
When is automatic email forwarding in Outlook useful?
Automatically forwarding emails saves time and ensures that important messages arrive reliably. Forwarding is particularly useful in the following situations:
- Vacation or absence: You want emails to be forwarded to colleagues when you are not available.
- Substitute arrangements: During your absence due to illness or in part-time models, others should be able to respond to your emails.
- Team mailboxes: Messages to a central mailbox (e.g. project@company.com) should be automatically distributed to responsible individuals or groups.
- Shift or on-call models: Incoming emails are forwarded to the respective person on duty to reduce response times.
How can I automatically forward emails in Outlook?
Microsoft 365 Desktop: Enable redirection via rules
Automatic forwarding can be activated in Outlook in different ways, depending on the version. Here you will find the instructions for Desktop, Web, and Microsoft 365.
- Open Outlook and click on File.
- Choose Manage rules and notifications.
- Click on “New Rule…”
- Under “Create a rule without a template”: Select “Apply rule to messages I receive”.
- In the next step do not select any condition (this will forward all emails), simply click Continue.
- A notice appears – confirm with “Yes”.
- Select the action "forward this to a person/public group".
- Enter the email address to which it should be forwarded.
- Click “Next”, specify exceptions if necessary (optional), and complete the rule.
Tip: This rule applies to local accounts (e.g., POP/IMAP) only when Outlook is open. For Exchange or Microsoft 365 accounts, this rule can also be applied server-side, so Outlook does not need to be open. However, the web setup is always server-side.
Outlook on the Web: Set up automatic forwarding
- Open Outlook in your browser at outlook.office.com.
- Click on the gear icon ⚙️ in the top right corner to view all Outlook settings.
- Go to Email > Forwarding.
- Activate "Forward My Emails".
- Enter the destination address.
- Optional: Enable 'Keep a copy of forwarded messages'.
- Confirm with Save.
This redirection works server-side, even when your Outlook is closed.
Microsoft 365 (Admin or User-based)
In some companies, the automatic forwarding is sometimes disabled.
Check in case of problems:
- To what extent your administrator allows forwarding.
- Whether security policies are enabled that block external redirects.
Important: The forwarding can also be set up centrally in the Microsoft 365 Admin Center, for example via transport rules. However, this feature is only available to administrators with the appropriate permissions. Regular users without administrative rights cannot use this feature and should instead rely on the rule-based or Outlook Web alternative.
Differences at a glance:
Note: If you fail with the Outlook mail forwarding, check firewall, spam, or Exchange settings. Some IT environments block certain external addresses. Contact your IT administrator if you encounter problems.
Outlook mail forwarding with conditions – forward only certain emails
Not every Outlook email should be forwarded. Often, it's sufficient if certain messages, for example from a client or with a specific subject, are automatically forwarded. In Outlook, you can do this with just a few clicks.
Redirection with Filter: Example Scenarios
- Only emails from certain senders
- Emails with a specific subject (e.g., “Offer” or “Contract”)
- Messages to a specific group of recipients
This targeted forwarding helps to keep track without receiving all emails twice.
Step-by-Step: Rule with Conditions in Outlook Desktop
- Open Outlook.
- Go to File > Manage Rules & Alerts.
- Select "New Rule …"
- Click “Apply rule to messages I receive”.
- In the next window, activate e.g.:
- "by individuals or public group" (for certain senders)
- "with certain words in the subject line"
- Enter the email address or keywords in the next step.
- Activate "forward this to a person/public group".
- Enter the destination address.
- Complete the process with "Next" and "Finish".
Examples of meaningful filters:
This is how you precisely control which messages are forwarded where, without having to manually check everything.
Outlook Mail Forwarding on Desktop (Outlook for Windows or Mac)
Those who work with the classic Outlook program can set up an automatic forwarding in Outlook directly via the rules. This allows emails to be automatically forwarded to another address based on sender, subject, or other criteria.
Step-by-Step: Setting Up Email Forwarding in Outlook on Desktop
- Open Outlook: Start the program normally via the Start menu (Windows) or through Applications (Mac).
- Open the "Rules" menu: Click on "File" in the top menu bar and select "Manage Rules & Alerts".
- Create new rule: Click on "New Rule" and start with the Rule Wizard. Choose "Apply rule to messages I receive".
- Set conditions (optional): For example, you can specify that only emails from a certain sender be forwarded. Or leave the field blank to capture all messages.
- Select action: Activate the option to 'forward this to a person/public group'. In the next step, enter the destination address.
- Define exceptions (optional): Here you can, for example, set that emails with certain subject lines are not forwarded.
- Name and activate the rule: Give your rule a name such as 'Vacation Forwarding' and check 'activate this rule now'.
- Complete and test: Click on 'Complete' and check with a test email to see if the rule applies.
Instructions for setting up automatic forwarding in Outlook on the desktop
- The rule only works if Outlook is open and running actively.
- For Exchange or Microsoft 365 accounts, the rule can also be created on the server side, so Outlook does not need to be open.
- Some businesses disable forwarding for security reasons. Then a notice appears in the Rule Assistant.
{{cta-3}}
Avoiding mistakes: common issues with automatic redirection
Automatic forwarding in Outlook usually works reliably. However, in practice, there are often problems that can be avoided if one is aware of the correct settings and avoids typical pitfalls.
1. Redirection works only partially
A common mistake is that only certain emails are forwarded while others remain in the inbox.
Causes:
- Incorrectly defined conditions in the rule
- The rule includes restrictions such as specific subject lines or senders
- Automatic forwarding enabled for internal emails only
Tip: Test the rule without any filters. Then gradually add conditions.
2. Forwarding only works when Outlook is open
One issue particularly with the desktop version: Forwarding rules that were created locally only apply when Outlook is open.
Solution: Set up rules via Outlook on the web. These are executed server-side and work regardless of the device status.
3. Forwarded emails end up in the spam folder
Some receiving mail servers classify forwarded messages as suspicious.
Possible measures:
- Check the sender's SPF/DKIM settings
- Use own sender address in forwarding (not 'on behalf of')
- Mark the target address as trusted
4. Missing feedback or attachments
In rare cases, forwarded emails are transmitted incompletely, for example without attachments or with altered formatting.
Tip: Set up a test redirection to yourself and check the format. Alternatively, activate the forwarding as an attachment (selectable in the rule options).
Automatic forwarding in the Microsoft 365 Admin Center
Not every redirect is set up by the user themselves. In many cases it is managed by IT or an administrator, for example with general mailboxes like info@ or support@.
When redirects via the Admin Center are sensible
Redirects via the Microsoft 365 Admin Center are suitable:
- In case of absence without access: If a user cannot access their mailbox for an extended period, e.g., during parental leave or a sabbatical.
- For functional mailboxes: When new requests should be automatically forwarded to changing agents (e.g., within the support team).
- For redundancy: If messages cannot remain in the personal inbox, e.g., for critical roles without backup in the team.
Set up Outlook forwarding through the Admin Center
Prerequisite: You need administrative rights in the Microsoft 365 Admin Center. This feature is only available to users with the appropriate admin permissions (e.g., Global Administrator, Exchange Administrator, or User Administrator).
Here's how to set up automatic forwarding:
- Sign in at admin.microsoft.com.
- Go to "Users" > "Active Users" in the left menu.
- Search for the appropriate user and click on the name.
- In the right section: Select "Email" > "Manage Email Forwarding".
- Activate the forwarding and enter a destination address.
- Optional: Enable 'Keep a copy of the forwarded message in the mailbox'.
- Save the changes.
Important: Such redirects apply to the entire mailbox. Rules with conditions such as "only certain senders" cannot be defined. For that, you need an Outlook rule on the user side.
Disable automatic Outlook forwarding
Do you want to turn off the automatic forwarding, for example, after returning from vacation? Deactivation is quickly done, you just need to know where to look. Depending on the version of Outlook, the process varies slightly.
In Outlook Desktop (MS 365, 2019, 2016)
- Go to File > Info
- Click on “Manage Rules and Alerts”
- Search for the forwarding rule and either uncheck it or delete it completely
- Click on “Apply” and “OK”
Outlook on the Web
- Click on the gear icon in the top right corner and open "All Outlook Settings"
- Select Email > Forwarding
- Uncheck the “Forward my emails” option
- Save your changes
What happens after deactivation?
- E-Mails will once again land exclusively in your inbox
- Previous rules are saved in case you want to activate them again
- When redirecting to external addresses, the data flow stops immediately
A manual check of the rule after deactivation is worthwhile to ensure that no additional filters are active.
Is the automatic forwarding in Outlook compliant with data protection regulations?
Automatic redirection is only permissible if it is based on a clear legal basis. In companies, this is usually the legitimate interest of the employer according to Art. 6 para. 1 lit. f GDPR. However, this interest must also be carefully weighed.
This is permissible:
- Forwarding to official addresses
- Clear purpose, e.g., covering for vacation
- Note to sender (e.g., via Out of Office reply in Outlook)
You should avoid this:
- Forwarding to private email addresses
- Lack of transparency
- Automatic redirection upon exit without clearance
- Forwarding of sensitive content (e.g., health or contractual data)
- External tools without contractual protection
- Forwarding entire mailboxes without verification
Those who want to play it safe rely on functional mailboxes or temporary accesses and not on permanent redirects.
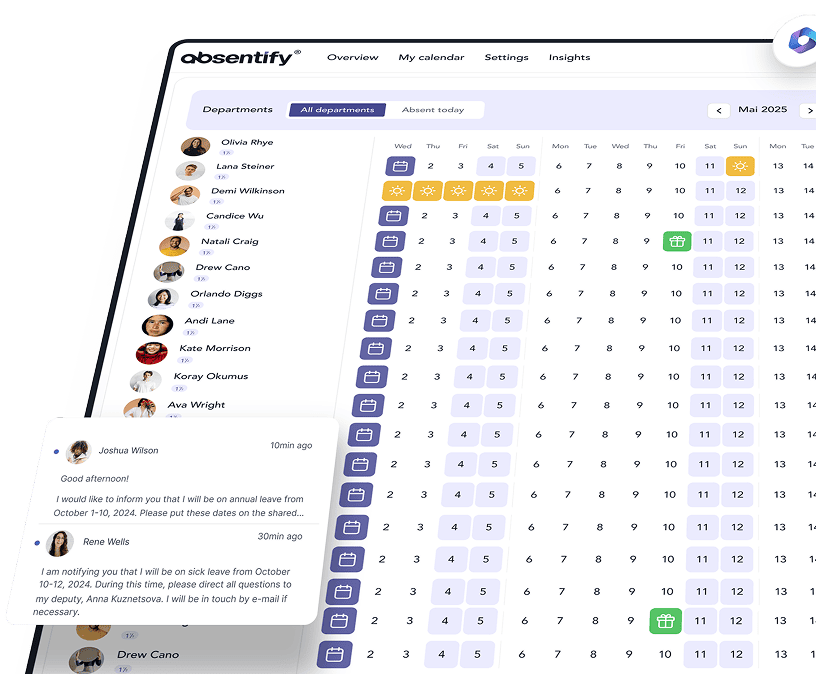
E-mails forwarded, representation arranged: How absentify supports your team
Forwarding emails is the first step. But for those in the team who want to keep track, more is required than that. absentify enhances the forwarding in Outlook with a clear absence management feature directly in the calendar.
Your benefits with absentify at a glance:
- Visible absences in the Outlook calendar
- An overview for HR and executives
- Automatic notifications for changes
- Structured sick notes without GDPR risks
- Clear rules for representation instead of email chaos
If you want to manage your availability professionally, a simple forwarding is often not enough. With absentify, you link calendars, teams, and Outlook into a coordinated system, which makes absences transparent and automatically informs the right people.
{cta}}
How can I automatically forward only certain emails in Outlook?
Will the sender be informed about the automatic forwarding?
Is there a limit for automatic forwarding in Outlook?
Why does my forwarded email appear to the recipient as 'on behalf of'?
Can I automatically send calendar information about absences with absentify?
How does absentify additionally assist with handling vacation replacements besides email forwarding?
About the author

Anna Keller
Content manager at absentify
As a blog author at absentify, Anna Keller explains how companies can efficiently manage absences, vacations, and working hours. In her articles, she combines HR practice with Microsoft 365 tips for Outlook and Teams and provides templates, step-by-step instructions, and software comparisons for modern, digital processes.
More interesting articles
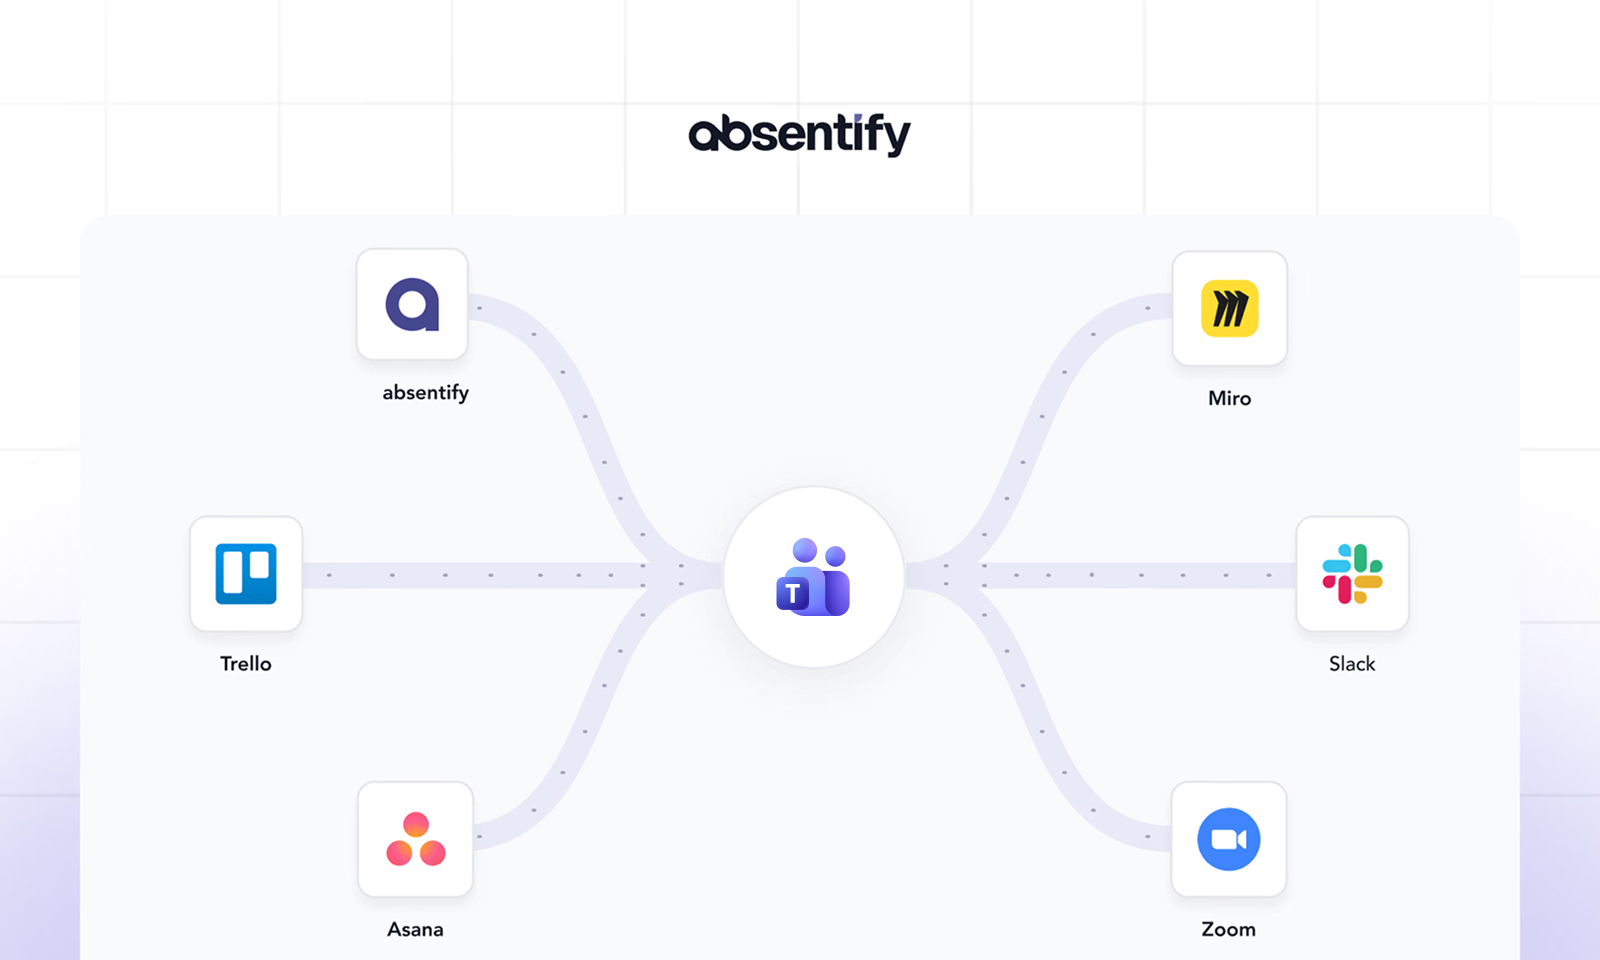
The 6 best Microsoft Teams integrations
Microsoft Teams has evolved from a chat tool into a comprehensive work platform. With the right integrations, it becomes the central hub for projects, approvals, and collaboration. There are now many integrations available, but which ones do you really need?

The 7 Best Vacation Planning Software
A vacation planning software replaces error-prone Excel spreadsheets with clear, automated processes for leave requests, approvals, and calendar synchronization.
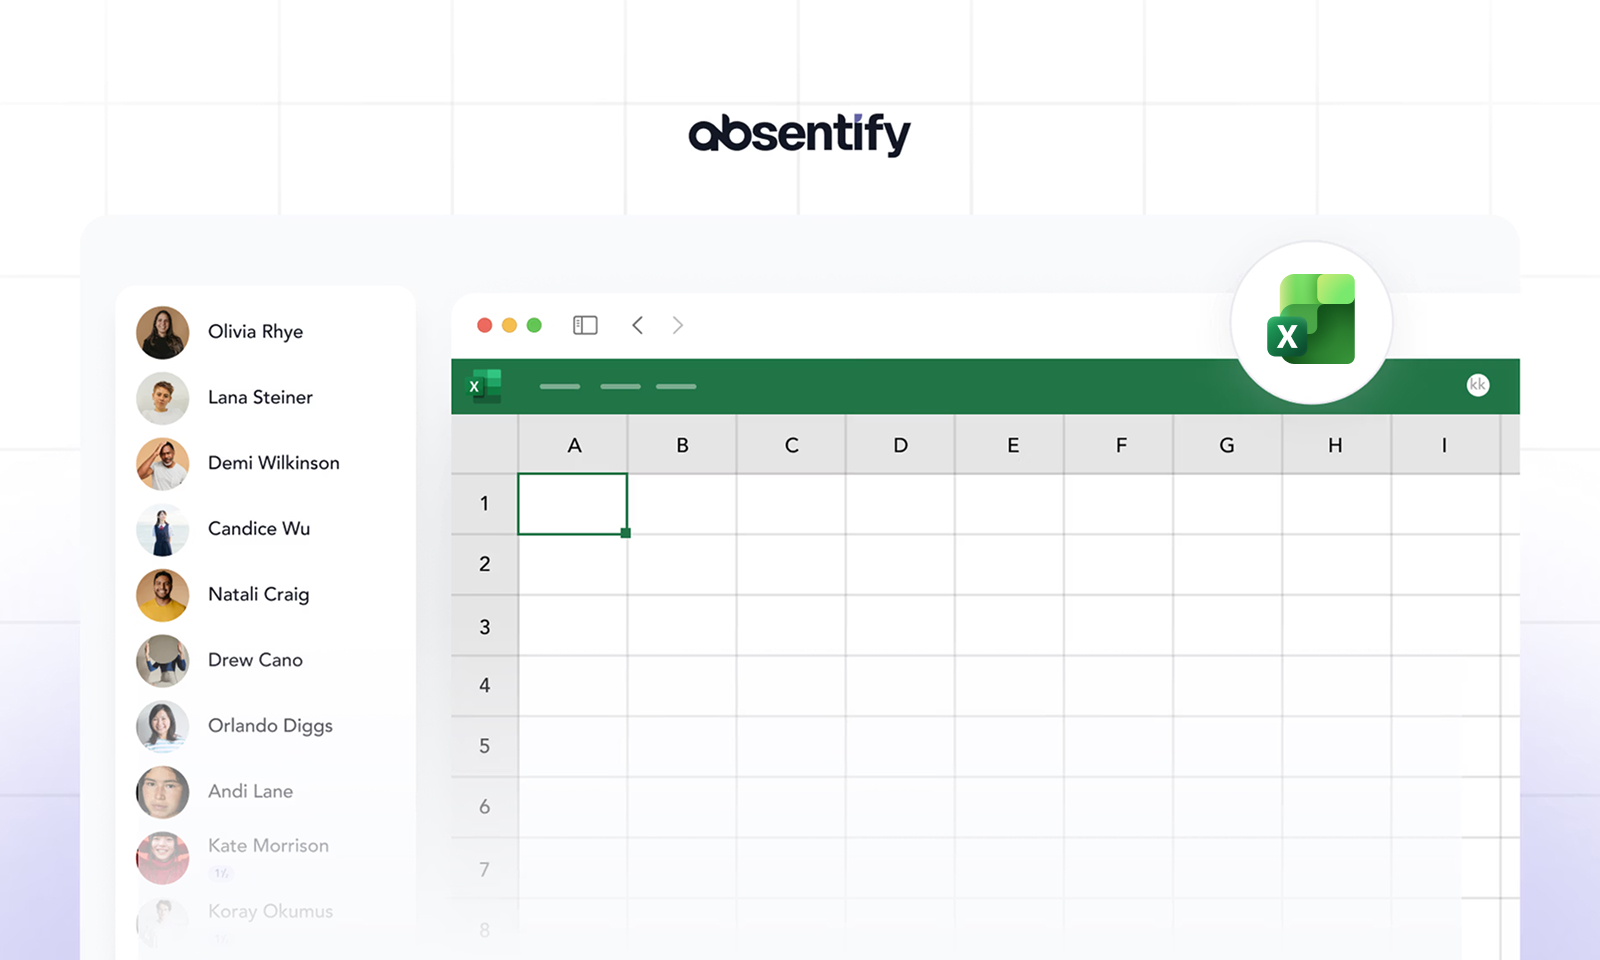
Staff planning in Excel 2026
Staff planning with Excel is for many teams in Germany the fastest and most cost-effective way to plan employees, vacations, and capacities. Excel offers useful features to structure the most important HR tasks, from shift planning to the analysis of working hours.
However, often there is a lack of clean structure. Many files are expanded over the years, lose clarity and cause errors. A clear Excel template for staff planning helps to combine absences and capacity overview into a structured system.